


Sorry about not getting out a real post today. I've been a little busy setting up a site over at SmugMug.com If you're interested in checking it out jump on over to www.mariejohnphotography.com.
I do plan on a real post in a day or two, most likely talking about SmugMug.
Smug Mug


Read User's Comments(3)
Packing for The Trip
Sorry it's been a week sense I've posted anything. I have some really exciting news. For anyone who doesn't already know, I am starting a new job on Monday. A new 9 to 5 job. And no it's not a photography related. As a very short notice get away my decided to book us a place in the Canadian Rocky Mountains for a couple of nights. (And this time I was aloud to take my camera and laptop).
Just to set your mind at ease I'm not going to go into details about how great the hotel was or what the scenery looked like. I do plan on posting some of the pictures later on this week. No, for this post I would like to talk about packing for a photo trip.
Now I'm not going to tell you how many pairs of underwear to pack or what the 'dress code' at the hotels restaurant means. One thing I will recommend when packing, take at least one more pair of socks then you think you'll need. Nothing will ruin a day out with the camera quicker then damp or wet feet. Packing an extra pair of socks in the camera bag really doesn't take up a lot of space or weigh all that much.
Memory card are an other thing you can't really pack too many of. For me I always take twice as much memory as I think I might need. If I think I might make 100 pictures I'll take enough memory cards for 200 pictures. I guess you can say I don't ever want to me in a position where i have to delete pictures before they get transferred to my computer. As cheap as memory cards are these days it might not be a bad idea to even take three times as much as you feel you'll need.
Something else I've learned from not only this trip as well as other tips. Don't rely on on hotel when it comes to a wireless internet connection. For what ever reason my laptop just would NOT connect. If I had more time to pack (and I'm not complaining) I would have packs both a network cable and a wireless router
. I personally would rather have my own password protected router so not only can I use my laptop any where in the room I choose, I also get a wireless connection that I am the only one with access. Not only does my own router give me a little bit faster wireless connection then you normally get in most hotels, having a password also gives a little (and I do mean little) bit of added security.
If you are unlucky (or lucky) enough to be staying somewhere that doesn't offer internet at all and you really have to have access to email or the ability to up load photographs to website tethering might be an option for you. Tethering is connecting a device such as a laptop to the internet through a smartphone. Rules, prices and methods of connecting can be a varied as the number of mobile phone carriers and smart phone models so I'm not going to go into details on tethering. I will say as someone who has used tethering in the past, I'm glad that the option for it is there.
I know there are a lot of other things that need to be taken along when traveling, so I am going to end by asking this.
What do you take on photo trips that others may not of thought about?

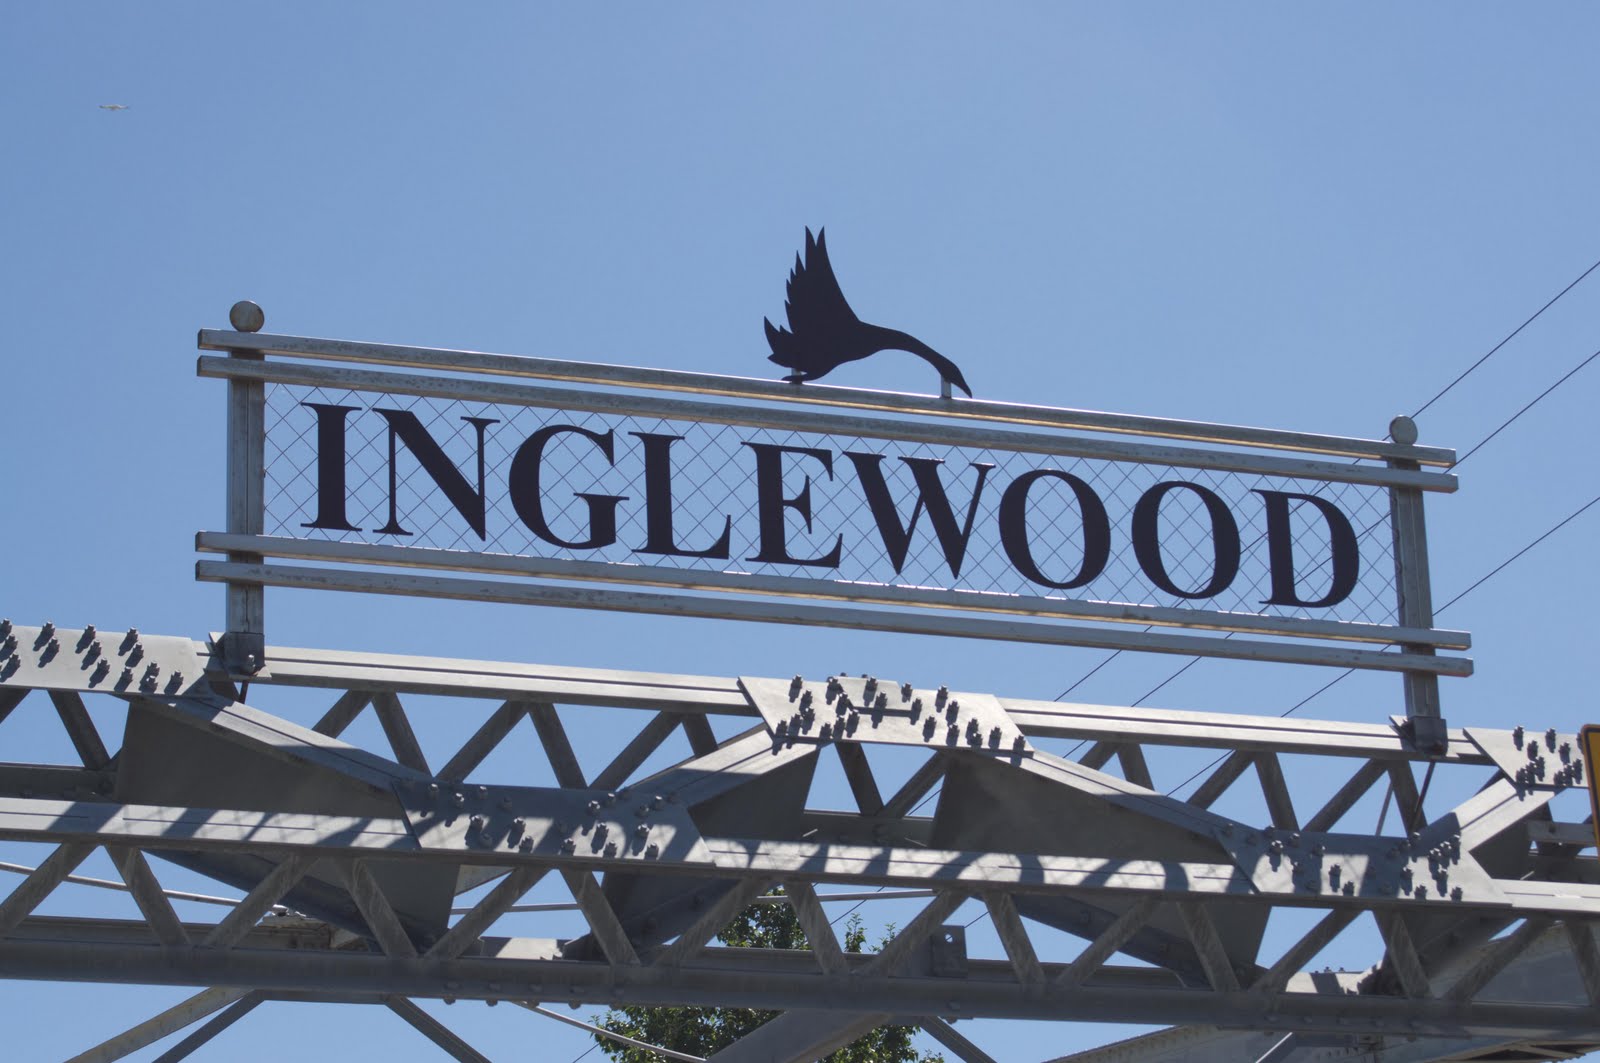
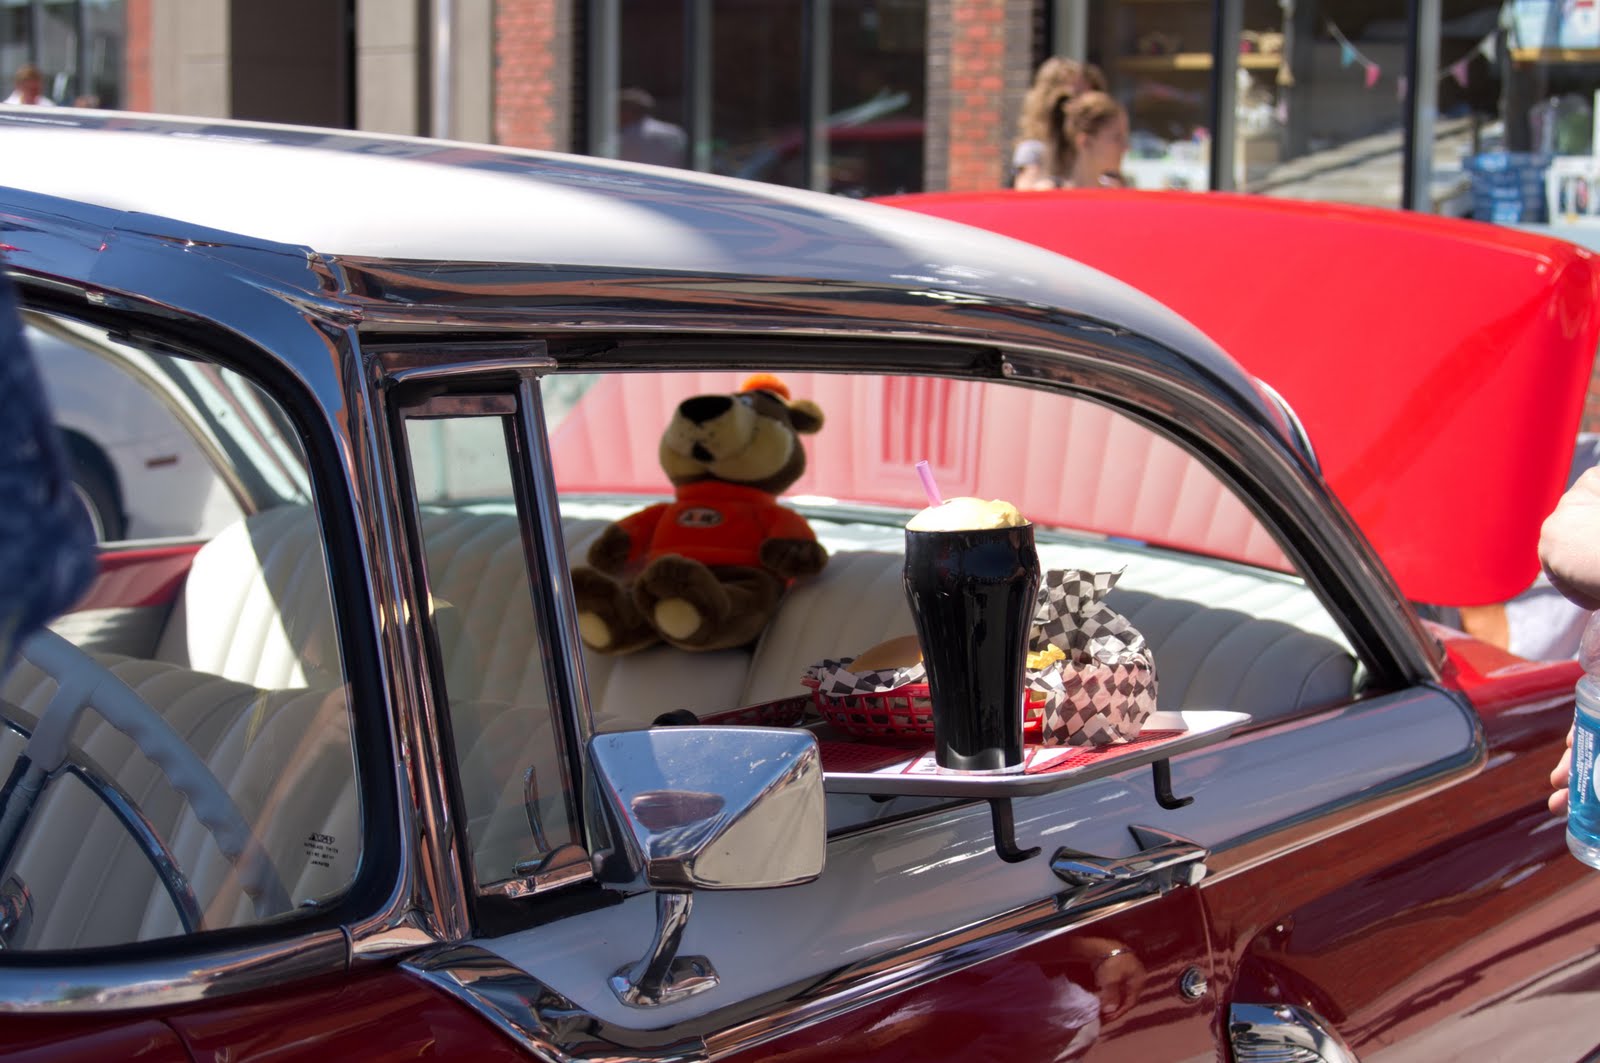
Calgary - Reader Rock Garden
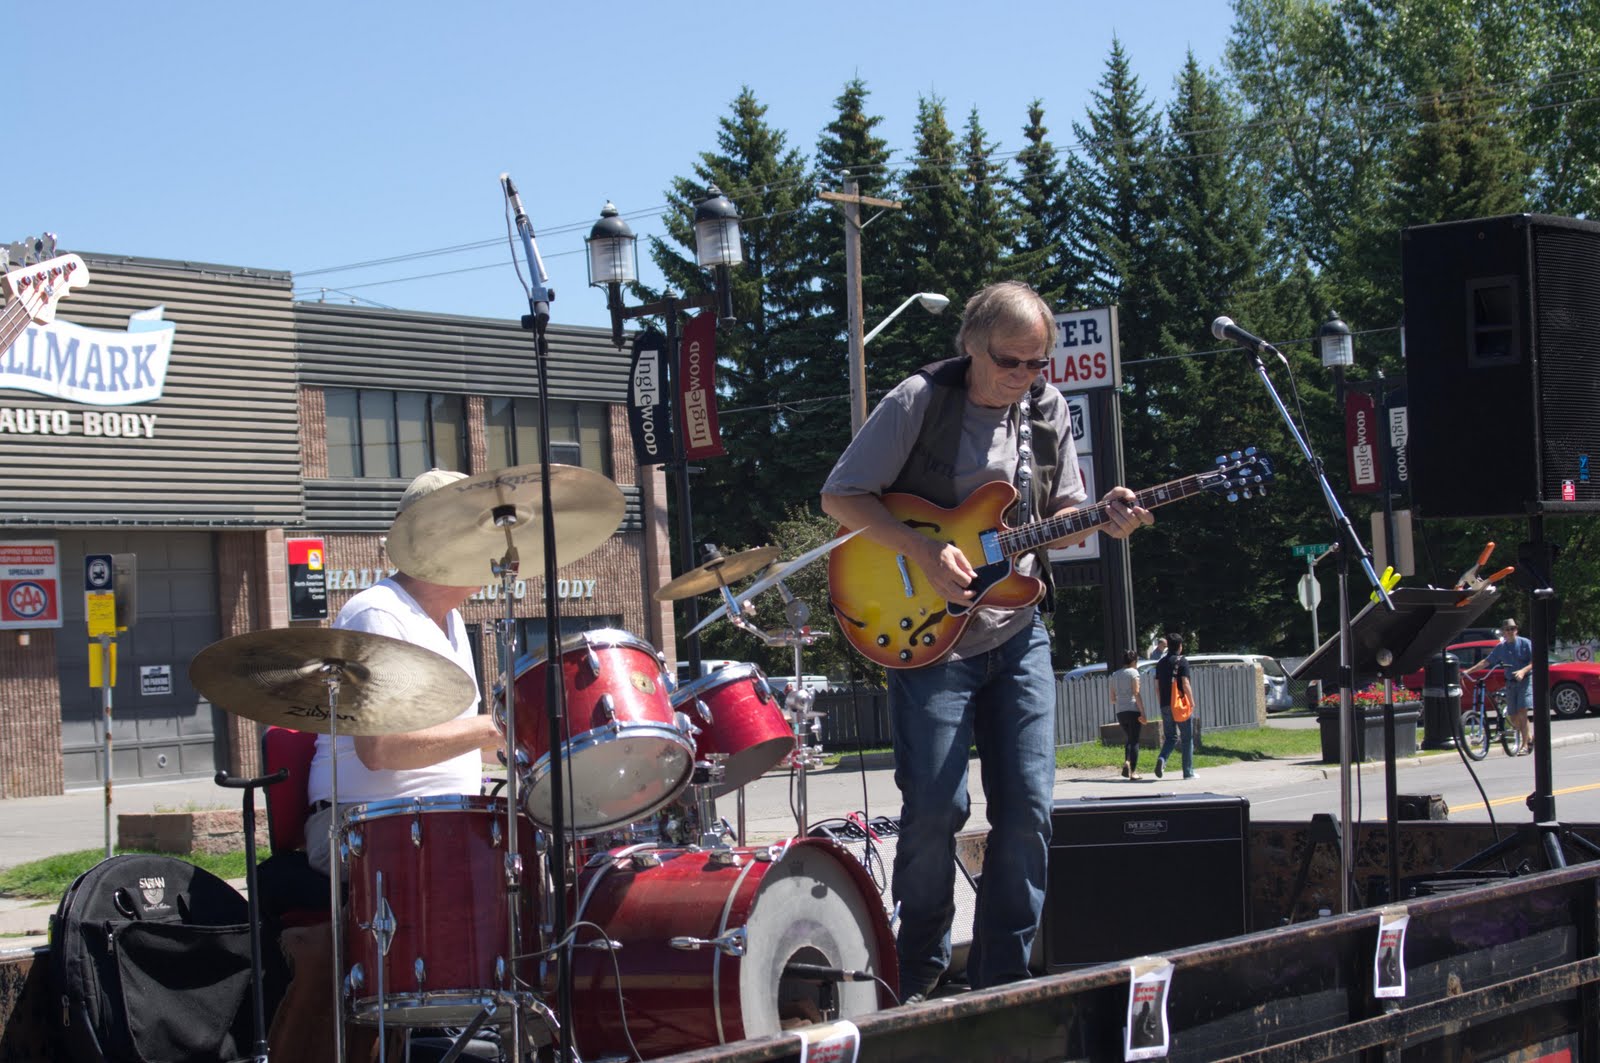
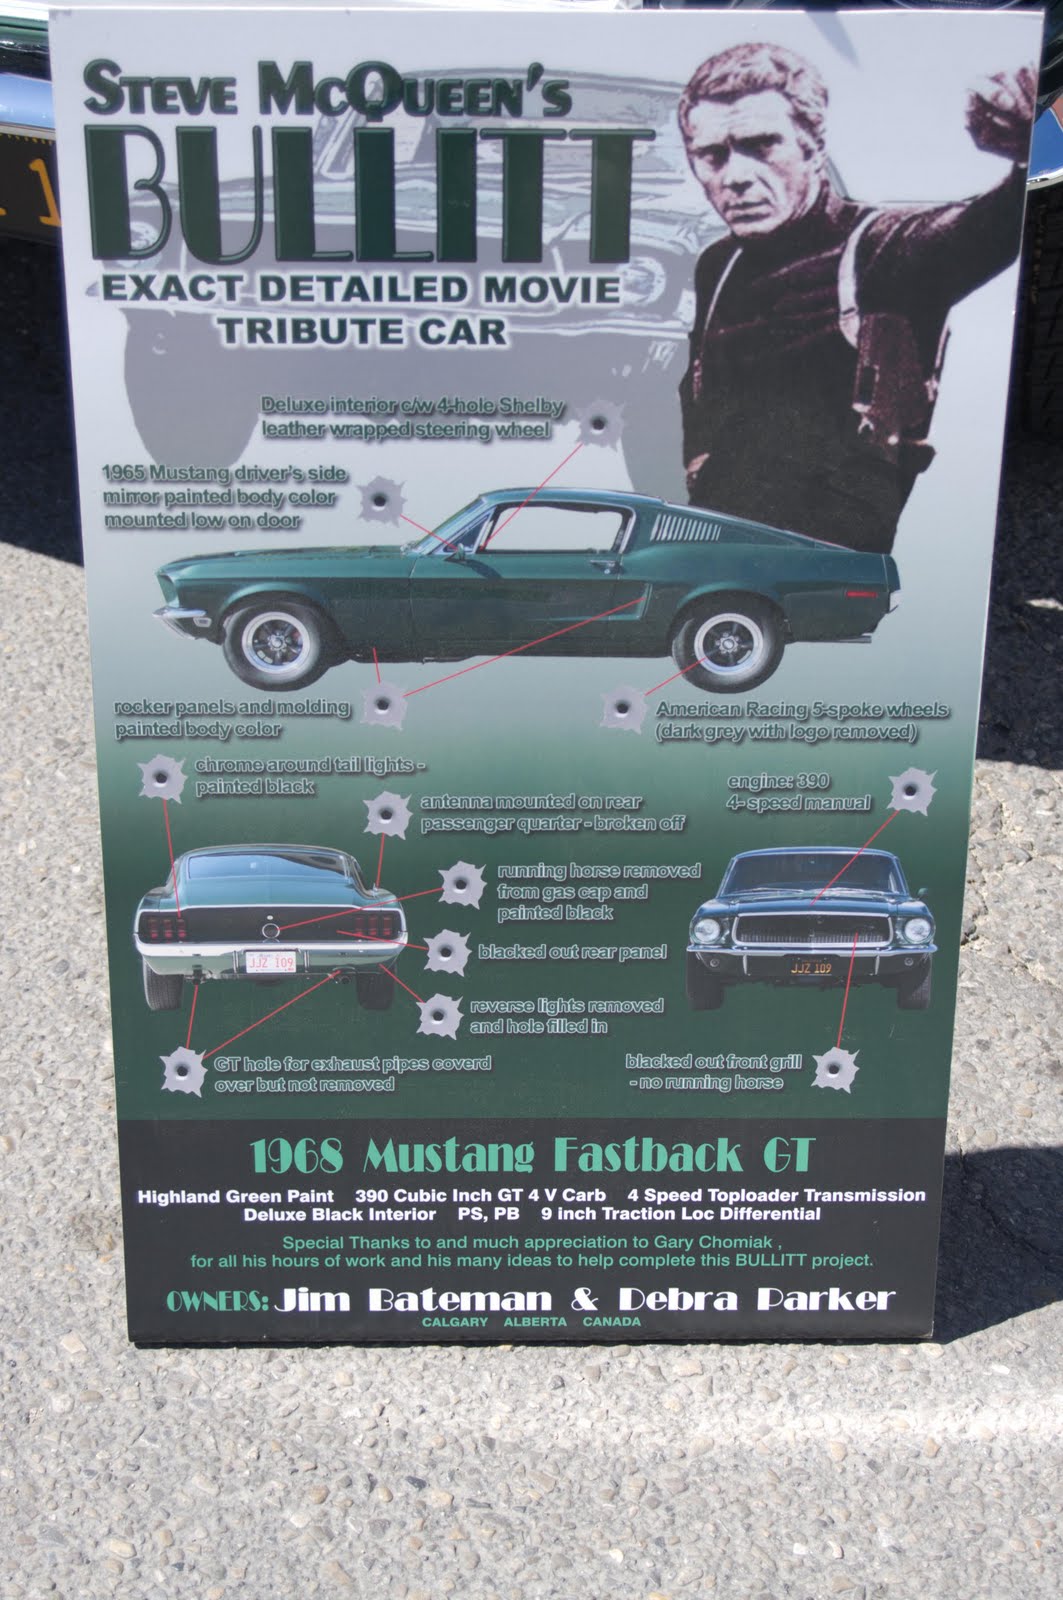
Busy weekend around our house this weekend. With my birthday on Monday and wedding anniversary Tuesday my wife decided to whisk us off to a nice surprise stay at a very nice hotel here in Calgary. She only had two simple rules, no camera and no laptop. At first I thought she had asked me to cut off my right arm or something. I have to be honest here, not only did I get along fine with out either one I had a really good time. Only down side is I really haven't had time to get much work done on a blog post, so I thought I'd simple post some of the pictures I took Saturday Saturday morning.
Well my wonderful wife was planning the surprise and getting everything ready me I was out with a few photography friends. (Okay, yes it ended up only being one friend as everyone else bailed on us.)
 |
| Bridge |
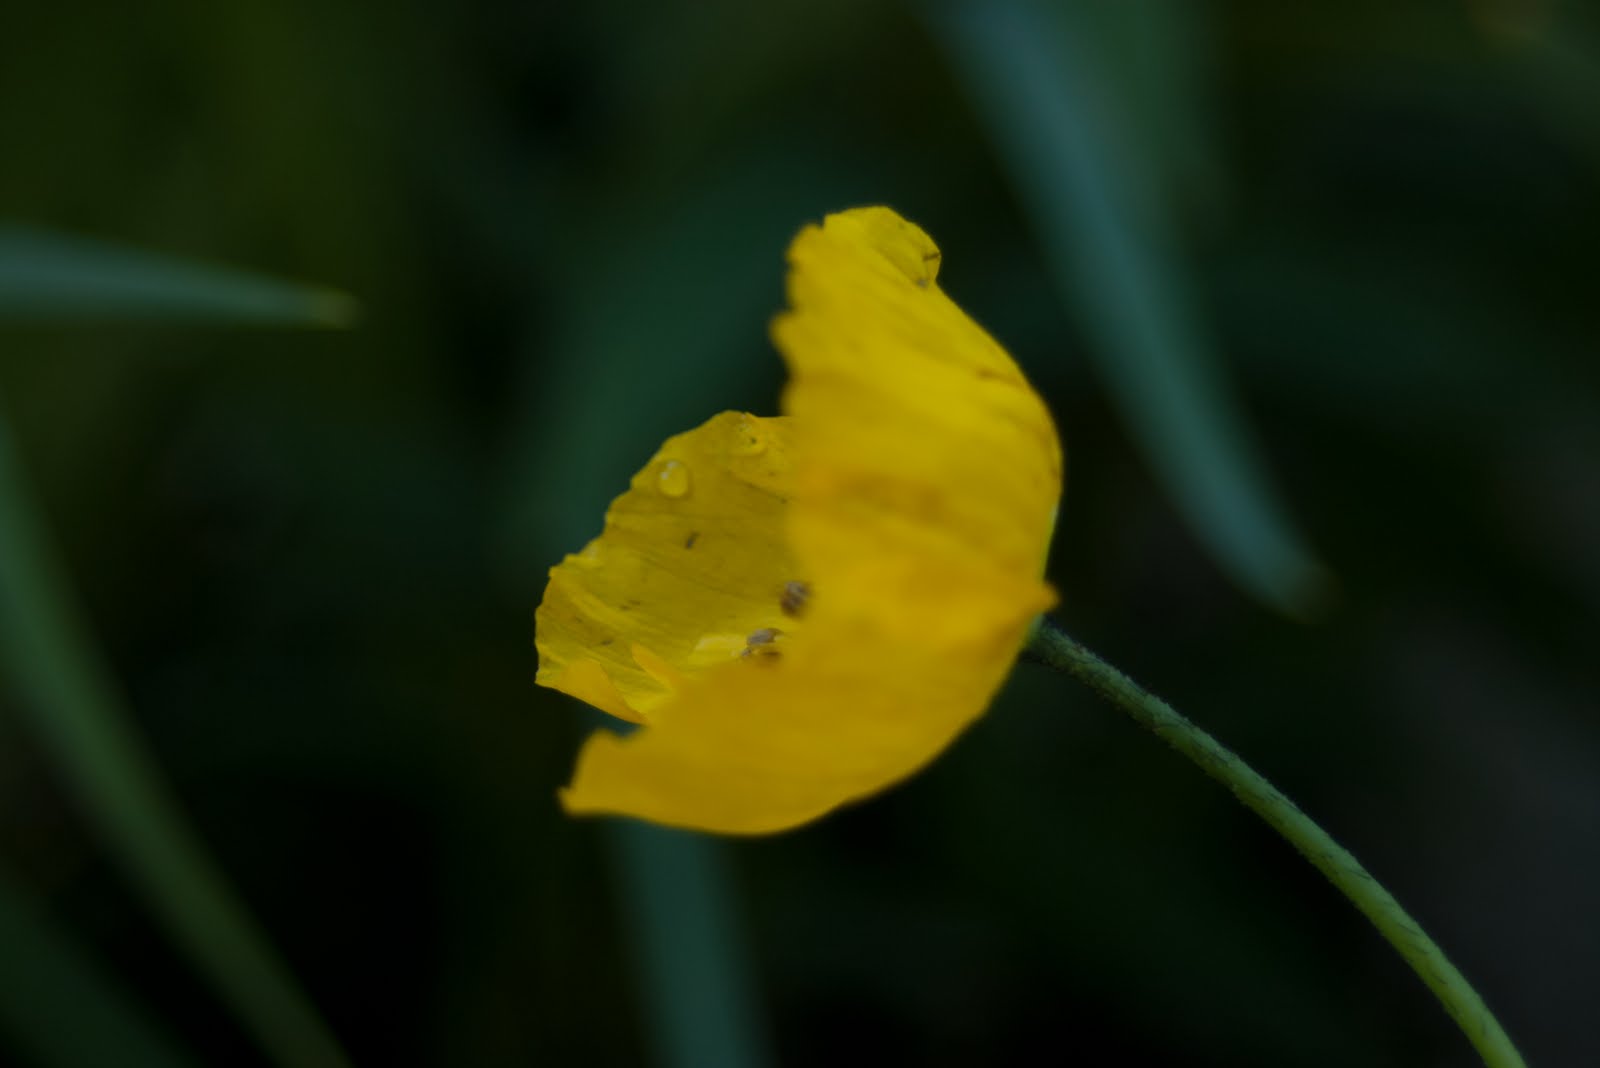 |
| Drop of Water |
 |
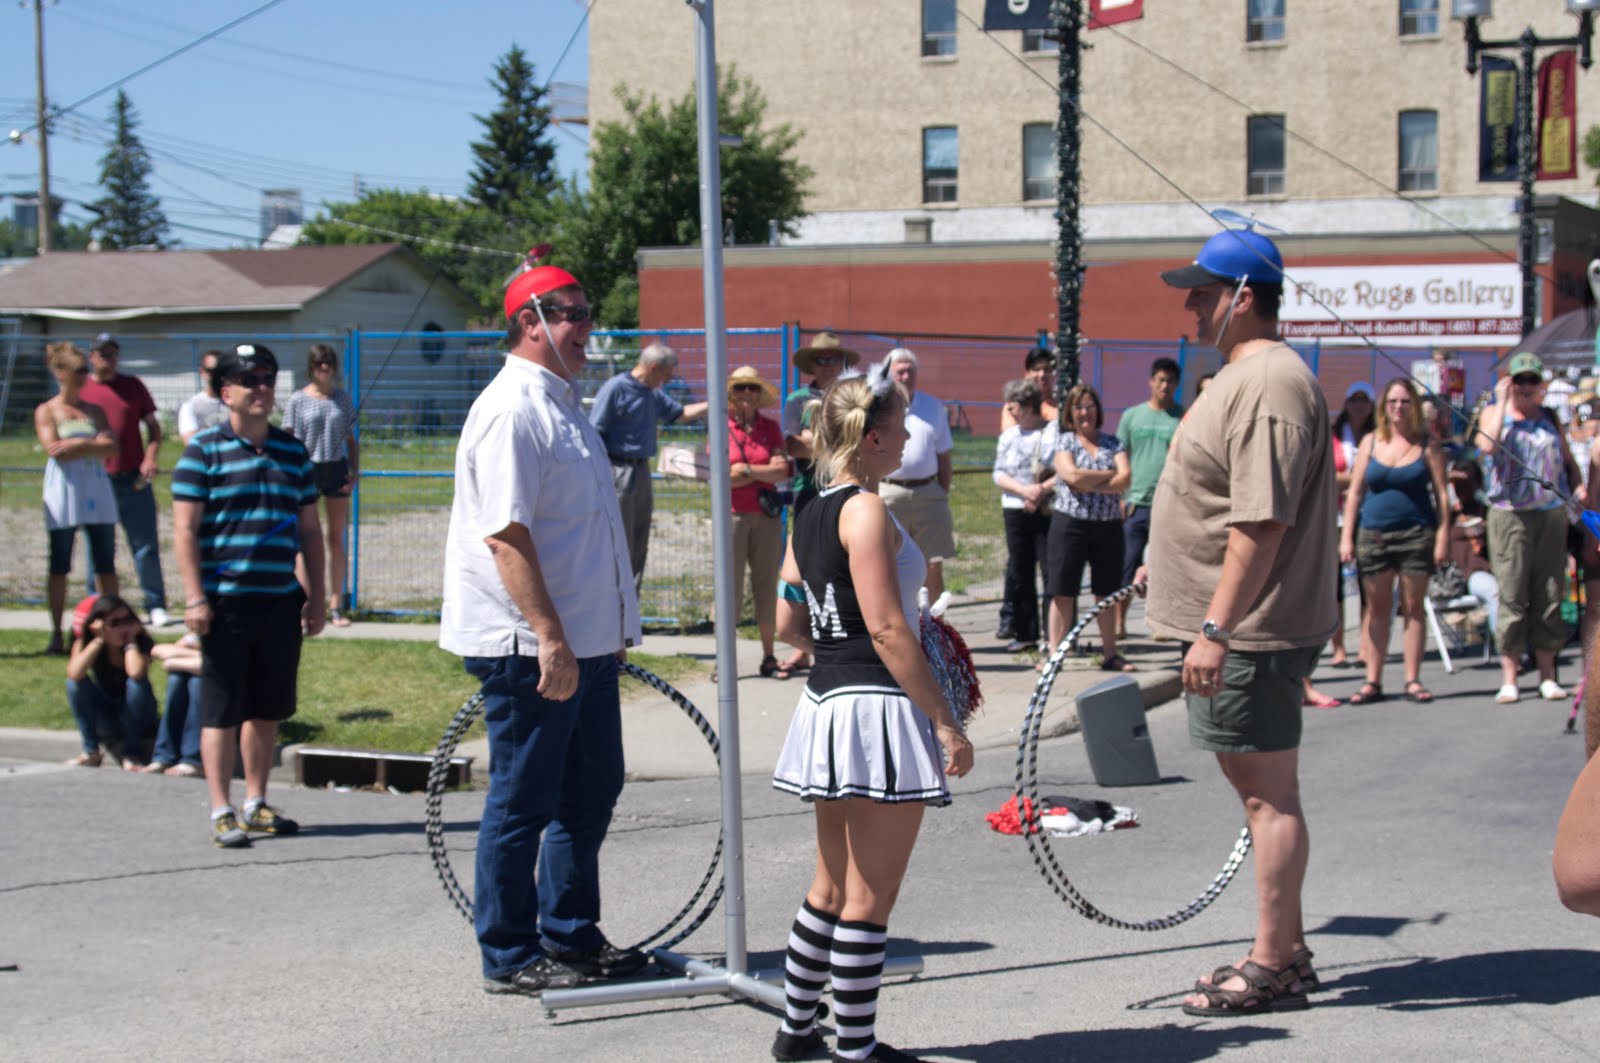
| One in a Million |
 |
| Wet |
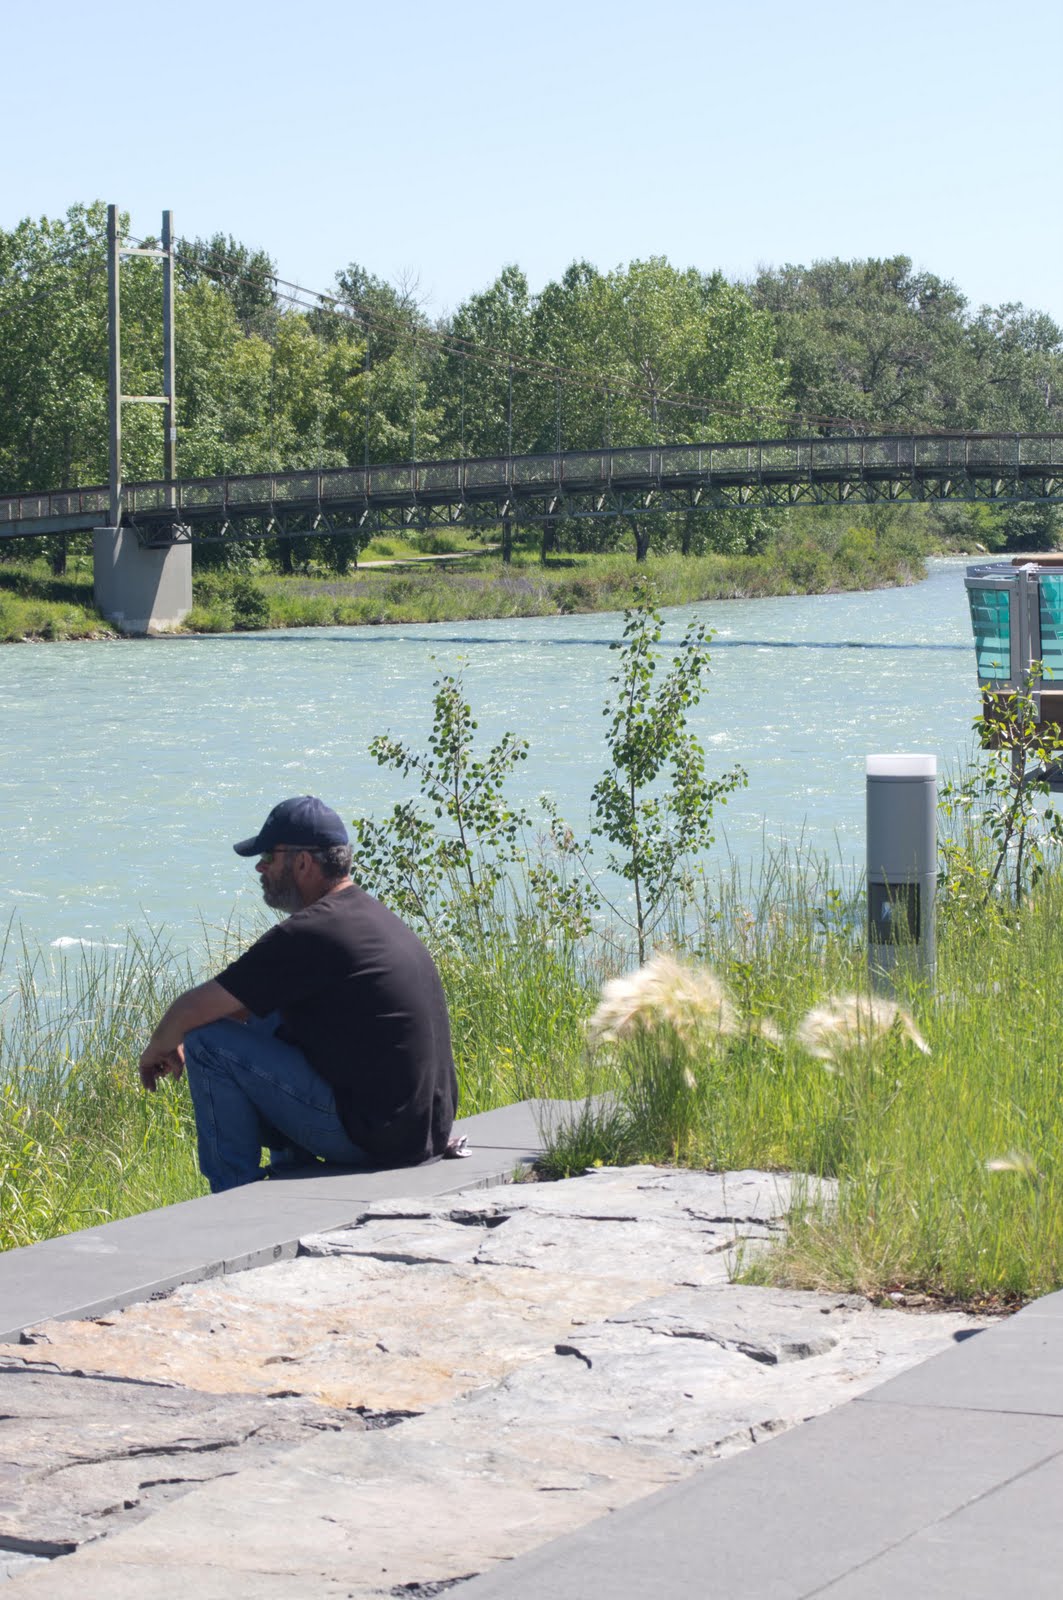
 |
| Rest |
 |
| Up Up and Away |
 |
| Water Fall |
 |
| Purple In The Middle |
 |
| Purple Bell |
 |
| Purple |
 |
| Top of Water Fall |
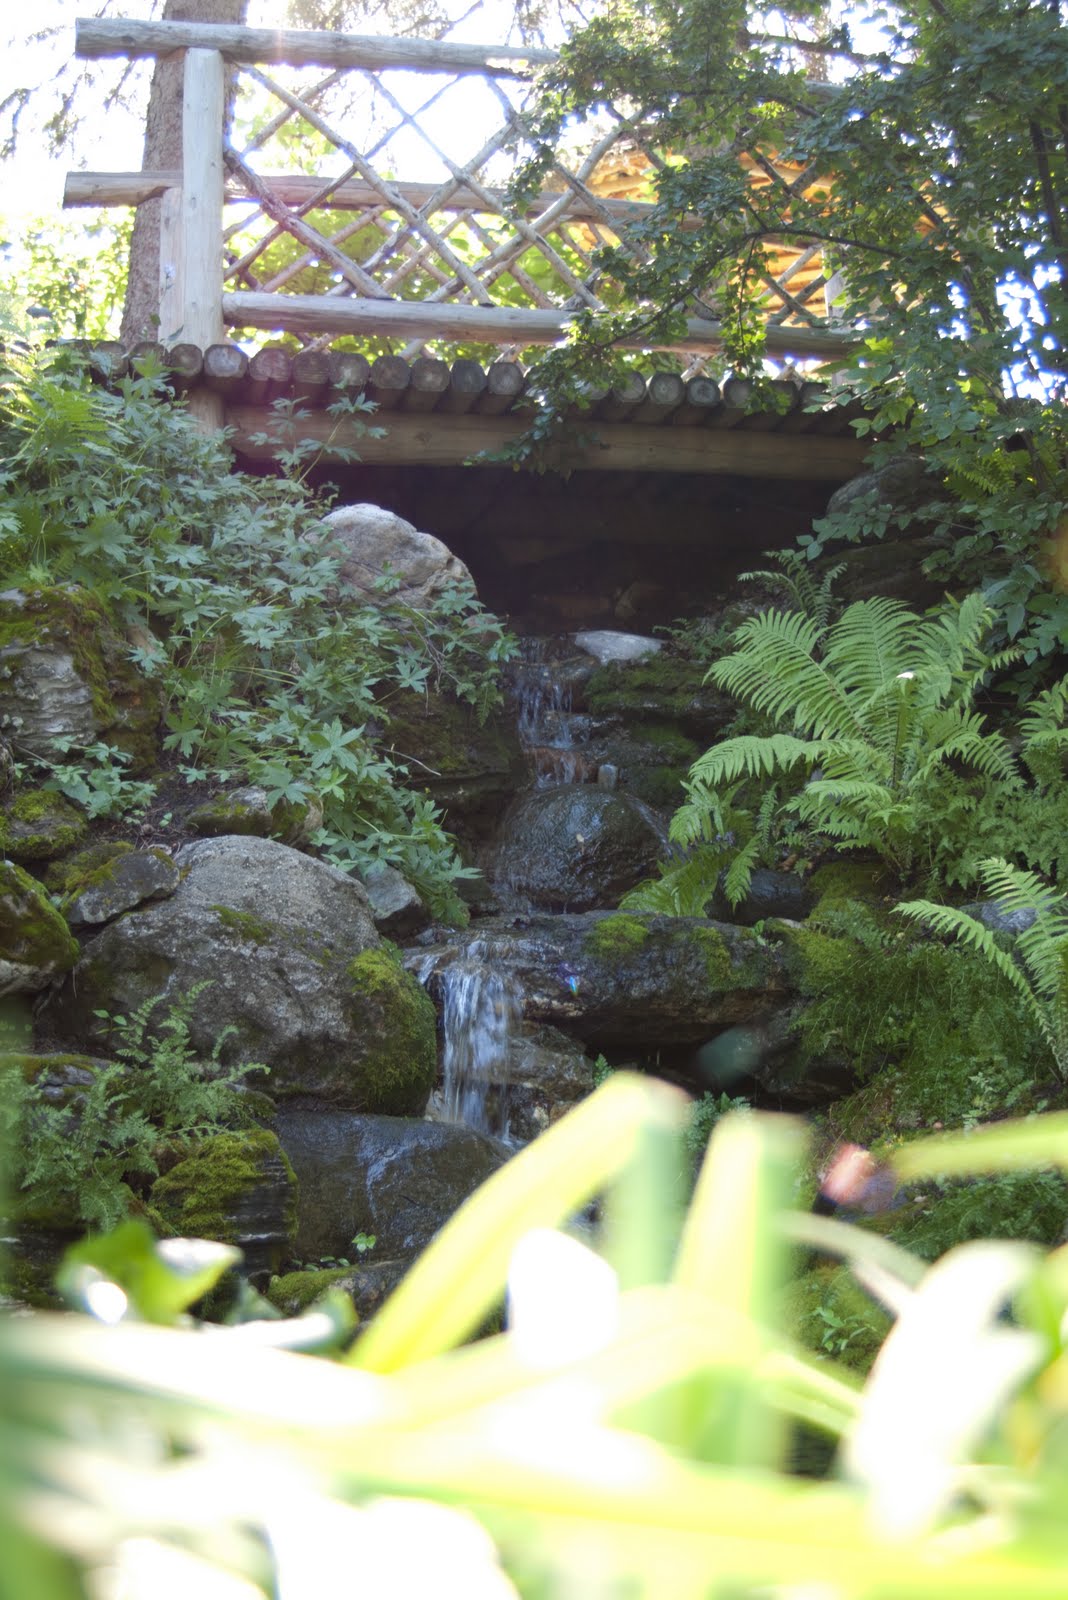 |
| Bridge Over Water |
Shooting with a friend or two can be a lot of fun. I'm not sure I would have made some of these pictures if I was walking thought this Calgary park alone. Sometimes hwne one person stops to shot the other people in the group will stop and look around. (Here it comes) You never know what you'll see when you stop to smell the flowers.
Aperture Part 2 - Depth of Feild
In one of my earlier post I talked about aperture and how it affects depth of field. So this time around I thought I'd talk a little more about DOF.
Just to make sure we are all on the same page, depth of is the distance between the nearest and farthest objects that appear acceptable in focus in a picture.
Instead of trying to get into all the technical stuff, I think the easiest way to show what that definition really means is to show it in pictures.
For all these pictures I shot in Aperture priority mode, meaning that the only camera setting I controlled was the aperture. The camera looked after the rest of the settings for me. I set the manual focus on the 24 inch mark on the tape measure.
 |
| f/5.6 |
As you can see in the first picture that there are only a few numbers in focus. At f/5.6 the aperture opening was fairly big for this picture. This is the sort of thing you might be looking for in a portrait.
 |
| f/11 |
The second picture was made at f/11, a very common mid range setting. As compared to the first picture more of the numbers on of the tape measure are now in focus. this is a good starting point for anyone who is starting to use the aperture priority mode on there camera.
 |
| f/38 |
As we can see in the third picture almost the entire tape measure is now in focus. With the aperture now at f/38 the opening would look something like a pin hole. This is the sort of setting you would be using when shooting landscape type pictures.
And again I know I haven't even begun to scratch the surface of depth of field yet. This is something I will be talking about more and more and more in the future.
But right now I need to get ready to go to a photography meetup,


Aperture - How W I D E
Okay, now that we've talked about the camera specification I thought it might be time start getting into making pictures. Now anyone can TAKE a picture. Simply put the camera up to your eye and press the shutter release button. Click and you have a picture. And a lot of times a camera in AUTO mode is going to do an okay job. And to be honest with you I almost always leave my camera in AUTO mode so I can take that quick picture when I need to.
Using AUTO mode is a lot like having an expensive point and shoot pocket camera. I don't know about you, but I didn't buy a DSLR to take point and shoot pictures. I bought my DSLR so that one day I might be able to make pictures of National Geographic or Sports Illustrated quality.
One of the most important aspects of a photograph is how much light is let into the camera. Too much light and the picture is so bright it almost looks white. Not enough light and the pictures are very dark, almost black sometimes. Much in the same way your eyes are when we go into a very bright room or a very dark room. A big differences is the eyes are able to react a lot better than the camera does.
When we go from normal light in to a very bright room the pupils (the black centre part of the eye) gets a lot smaller so that less light enters the eyes. When we go into a dark room the pupils gets larger, to let more light into our eyes. What a cool idea. If only there was something like that on a camera.
But, there is. And it's called the Aperture. Defined on dictionary.com as '1 an opening, as a hole - 2 in optics an opening, usually circular, that limits the quantity of light that can enter an optical instrument' (such as a camera) Why would you want to limit the amount of light entering the camera you might ask? Don't you want as much light as possible? The answer, like many answers in photography, depends. It depends on what you are trying to do. Yes, if you are making pictures in low light you most likely will want to let in as much light as possible. Allowing the same of light in on a very sunny day will most likely over expose the picture so much that you may not be able to see anything at all.
Before getting into the details of aperture and its whens and whys it might be a good idea to take a look at just what 'letting more light in' looks like. I've taken several photos of an old 50mm lens with a manual aperture ring.
 |
| f 2 |
 |
| f 8 |
 |
| f 22 |
(I had to use an older lens because the aperture on newer lenses are controlled by the camera body)
As you can see the smaller the opening the larger the number. Please don't ask me why, kind of seems backward to me.
Okay. Lots of light, big f stop number. Low light, small f stop number. Great, got it. Nothing more to worry about right? Wrong.
The 'AUTO' mode on most cameras can get the f stop correct for bright or dark shots, most of the time. The other thing the aperture has a HUGE effect on is the how much of the picture is in focus. What I mean by that is when you'er making a picture of a person's face (portrait) you want the persons face to be in focus. Do you want or need everything in the background to be in focus? Assuming you don't want the background in focus simply open that f stop as wide as it will go (Smaller number). Ideally for a portrait you would want to use an f 2.? or even an f 1.? if your camera will go that low (open). The smaller the f stop number the shallower the depth of field. Going the other way if you want as much of the picture in focus as possible you want to close down that aperture as much as possible. Closing the aperture gives a much deeper depth of field. Deeper depth of field means a larger f stop number. In the f 20 or f 22 range or even deeper if your lens will allow it.
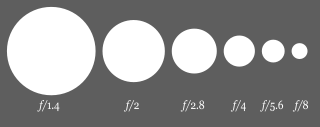 |
| f stop chart |
This post only really scratches the service of aperture, f stops and depth of field. I will talk more about all three things in the future. In fact, aperture and depth of field is something you will hear a lot about in all aspects of photography. That's why I want to touch on it sooner rather than later
Lens - Through the Looking Glass
Anybody that owns a DSLR has looked at a website like Henry’s or B&H Photo and browsed through page after page of lens and thought ‘Wow, where do I start?’ And its understand why there are so many questions when it comes to buying a new lens. (Well at least new to you, even if it was previously enjoyed by someone else.)
Where to start when trying to decide on a new lens? Macro? Fish Eye? Zoom? What the heck is prime? And are other lens non prime? Like almost everything else with photography it really depends on what you want to do with the lens. Yea, I can hear you saying ‘I want to make pictures with it, duh!’ Of course you want to make pictures with it, but what type of pictures?
ZOOOOOOOOOOOOOM
 |
| 28 mm |
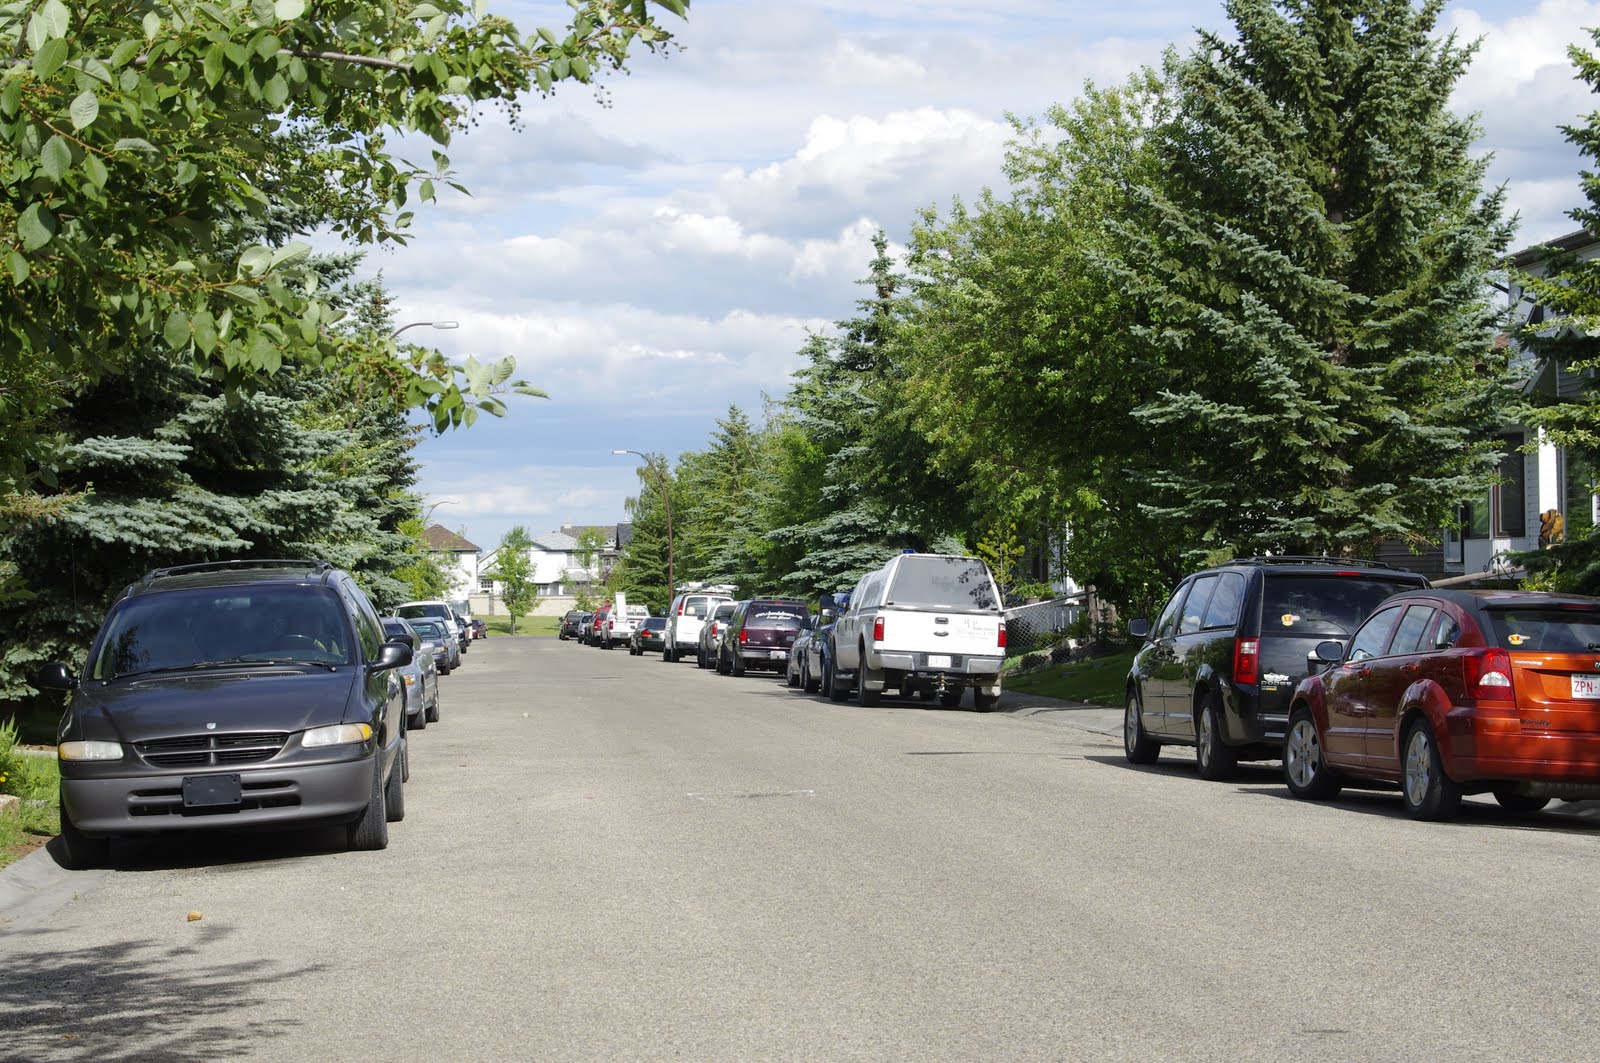 |
| 55 mm |
 |
| 200 mm |
I guess the first one to talk about, and I’m sure the most common type of lens is the zoom lens. What is a zoom lens? The easy way to type it is; A zoom lens is a mechanical assembly of lens elements for which the focal length can be varied. By chancing the focal length of the lens you also change the angle of view for that lens. As the old saying goes a picture is worth a thousands words. So here are three pictures (does that equal three thousand words). All three pictures where taken standing in the exact some spot in the middle of the street in front of my house (glad I live on a quite street). The first picture was made at a focal length of 28mm (the widest this particular lens goes). The second picture is 55mm (the maximum zoom of most kit lens) and the third picture is at 200mm (the maximum zoom for this particular lens). As you can see in the pictures with the wider angle the field of view is much wider and the more one zooms the more of a close up you get.
W I D E angle
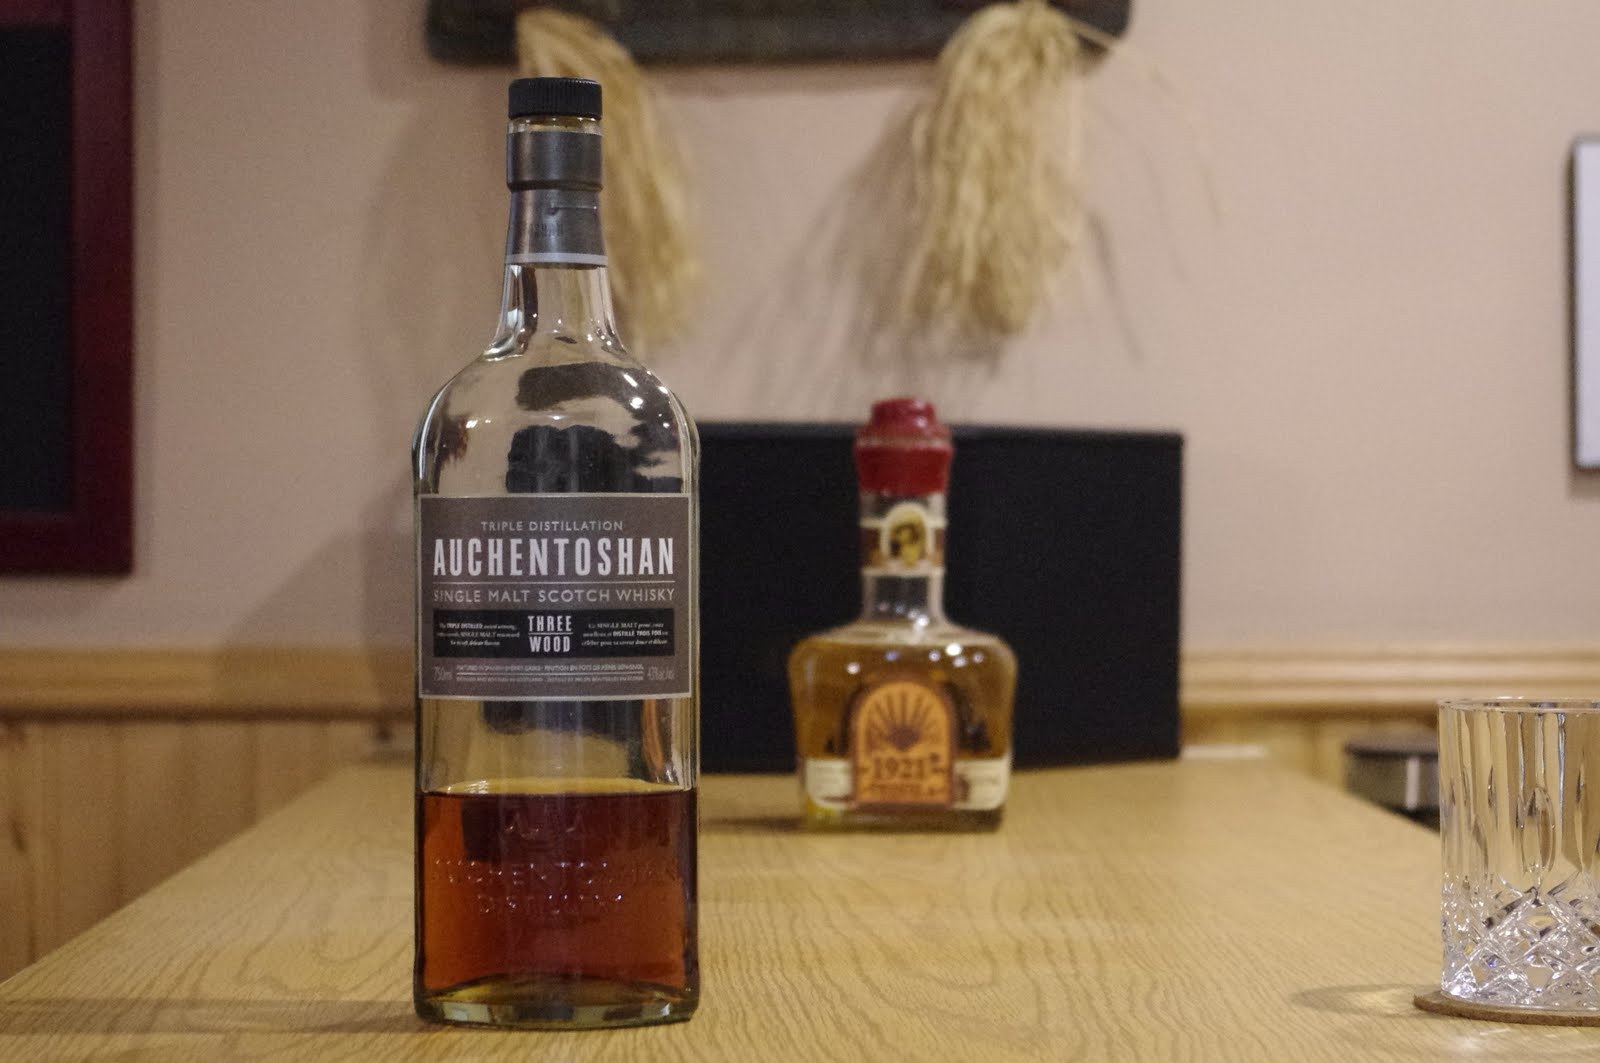 |
| 55 mm |
 |
| 35 mm |
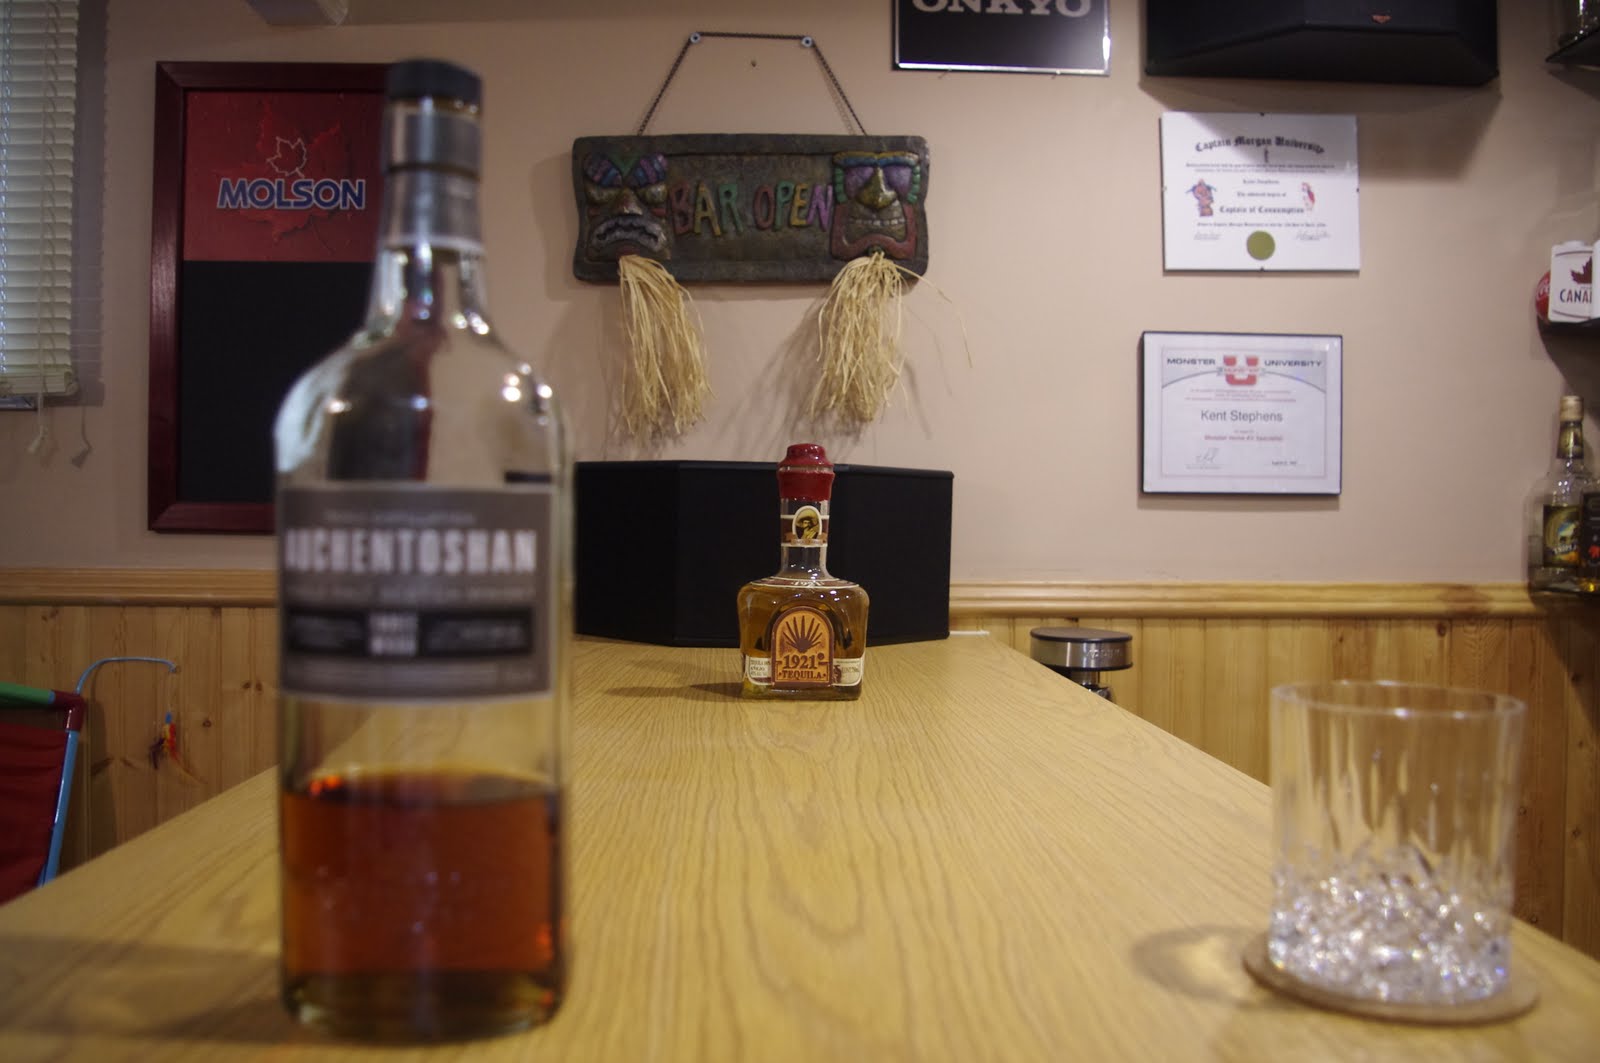 |
| 18 mm |
A wide angle lens is a lens whose focal length is less then the focal length of a ‘normal’ lens. What in the world does THAT mean? Again, a picture is worth a thousands words (so three pictures should be worth three words). Again all three pictures are of the same scene, this time I’m using bottles on the bar in my basement. As you can see in the three pictures it APPEARS that the bottle move further apart the wider the angle used on the lens. Trust me when i say that the bottles never moved. (I didn’t have THAT much to drink that day). The distortion effect a wide angle lens offers can be a lot of fun to play around with. One day I’d like to get an even wider lens.
Prime Lens
Defining a prime lens is really very easy. A prime lens has a fixed focal length, or in other words does not zoom. There, enough said. Whats that? Why would someone buy a lens that only has one focal length and there for is not a versatile as a zoom lens. In a word. Quality. Prime lens often offer superior optical quality, lighter weight, smaller size and lower price. With fewer moving parts then a zoom lens, prime lens usually have a larger aperture then a zoom lens. (More on aperture in a future post). Common prime focal length are 20mm, 24mm, 28mm, 35mm, 50mm, 85mm, 105mm, 135mm, 200mm, 300mm, 400mm and 600mm.
Macro Lens
A macro lens is designed for close up pictures of very small objects. There are several different styles of macro lens. Some zoom lens come with a macro setting allowing for close up shots as well as far away shots (not at the same time). Another way of archiving the macro effect is with either extension tubes or bellows, thus moving the lens elements further away from the CCD sensor. Macro is something I hope to post about more in the future, once I've had a chance to play around with it some.
Fisheye Lens
A fisheye lens is a very wide angle type lens that takes in a broad panoramic image. First developed to study cloud formations the fisheye lens quickly became popular with photographers for their uniquely distorted appearance. This is not an effect that I personally am a fan of, but for the sake of this blog hope to spend more time with in the future.
Each type of lens that I have talked about really dissever there own post, and will get one in the near future. This is intended as a brief over few. There are other types of specialty lens as well that i may or may not talk about down the road.
What lens do you think you'll get next?
Subscribe to:
Posts (Atom)